
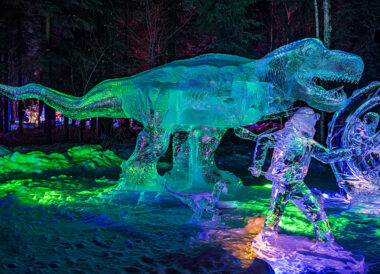
I just returned from two weeks in Costa Rica. We had incredible workshops, fantastic groups and amazing photography. We photographed monkeys, sloths, anteaters, dolphins, and endless birds. Photographing in the jungle has some challenges, the biggest of which wasn’t finding the subjects, it was photographing them on the right background. Backgrounds make or break an Read More
Blog

Dealing with the 40 pound weight limit for small plane travel.
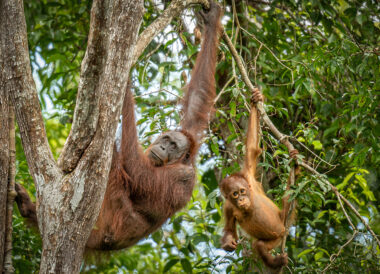
We travel to remote lodges all the time for our photography. And often this means travel by small plane (as in 4-12 seats), with strict weight limits on luggage and camera gear. Places like Africa, Borneo, Costa Rica and Alaska often have an approximate 40 pound weight limit which includes clothes and camera gear. How Read More
Z9 Firmware 5.0
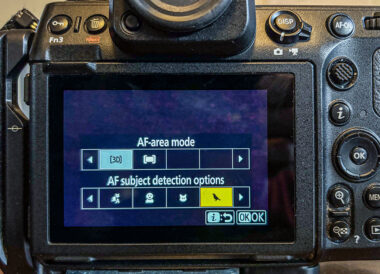
As many have predicted, Nikon has released another firmware update for the Z9…the new version is 5.0. This update adds some of the recent Z8 firmware updates including being able to make the red square focus point thicker and easier to see (custom A11). Also, you can choose ‘Cycle AF-area mode’ to toggle between auto Read More

Food Photography Tips
Have you ever noticed how important food is for travelers when they are talking about upcoming trips? Spring rolls in Thailand, pasta in Sicily, mole in Mexico…doesn’t your mouth just start watering? Yet when photographers come home from their trip they have great landscapes, wildlife, portraits, cityscapes…and no food images. Now I hear some folks Read More

Z8; Increase focus point size.
One other firmware update for the Z8 which many of you may like…you can increase the size of the red square focus point. How many times have you turned on your camera and not seen the red focus square? This happens a lot to me…I normally just hit the center ‘OK’ button of the thumb Read More
Z8: New Cycle AF-area mode better than F1/F2 custom autofocus modes?
The new Z8 firmware version 2 has a few other updates (other than bird tracking) that are really useful. One of my favorites is the Cycles AF-area mode. This is a custom mode that can be applied to any button on the camera. Here is how it works. First, go into your controls (f) in Read More
Z8 updates to include bird autofocus
Huge update for the Z8 released. Probably the biggest addition is adding the bird autofocus mode that was already available in the Z9. Also noteworthy are Auto Capture, Pixel Shift shooting, and even some new shutter sounds. The update can be found here. I’ve been using the bird autofocus mode consistently, and I think it Read More

In The News: Nikon Plena and Route 66
Last fall when Nikon announced the Plena I was putting in my order before I had finished reading the specs. I mean really, if Nikon gives a lens a name I am going to buy it! But on a serious note, the Plena is a breed apart. Certain lenses are exceptional in every camera brand…they Read More
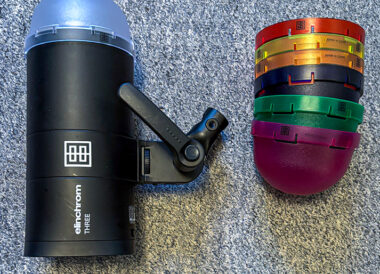
Day of the Dead Portraits: Elinchrom Three
I just returned from a week long photo workshop in Oaxaca, Mexico. We focused on portraits, travel and food photography while we were there (I’m still dreaming about the amazing mole sauces!). A big part of the our trip was creating portraits, both with available light and studio lighting. I was especially excited about photographing Read More
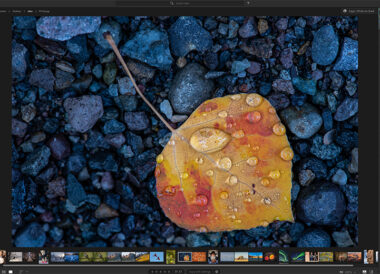
Lightroom versus Lightroom Classic, what’s best?
The new version for Lightroom (mobile version) has really added some great new features, but hands down the best one is the ability to browse and edit files on a local hard drive without having to import the files into Lightroom. There are two buttons in the upper left corner of Lightroom, one says ‘Cloud’ Read More

Workflow: Rating images in camera
I have been getting questions lately about my workflow, and has it changed with the new Lightroom (not Lightroom Classic/desktop)? The short answer is my workflow has changed some, mainly due to the ability of Lightroom to now edit images without having to import them into the program. Later this week I’ll post another blog Read More

Nikon 600mm 6.3 PF
When the 500mm 5.6 PF lens came out a number of years ago, it completely rocked my world. This lens was so small, light and incredibly sharp..it was hard to believe. Cree and I liked the lens so much we had to buy two of them, no sharing with this lens! The convenience of having Read More