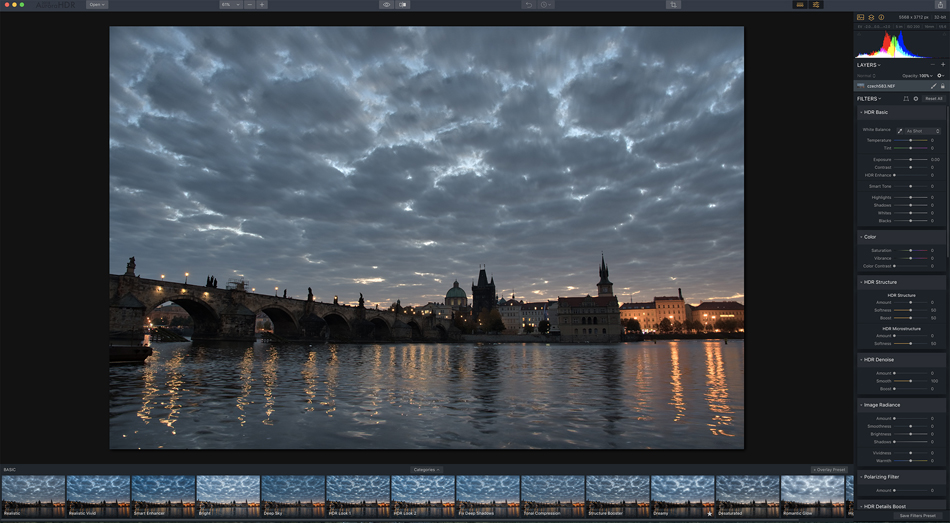
I’m getting ready to go to Old Car City this weekend to teach a sold out workshop. We are going to photograph the old cars in this amazing location, as well as use speedlights and photograph models. The last time I visited Old Car City I had some constanty light, so I decided to create some HDR images. High Dynamic Range images require bracketing above and below the correct exposure to capture both shadow and highlight detail, and then sandwich the tonalities into a narrow range. Lightroom and Photoshop both offer good HDR creation, but you might just want to try out Aurora HDR 2018.
Why? Because this software not only shows you a wide range for presets for different effects, but has a huge selection of tools to fine tune your final image. Imagine having access to the entire right panel in the Develop module of Lightroom, and then many more options specific to creating HDRs. How about working in Layers? No problem. Perspective issues..got it covered. Fine tune detail texture..yep, that’s in the program too. There is even a history panel to go back to earlier stages of your editing.
One of the biggest problems with HDR software is the final result is too overdone, and often pixelated and gritty. Not so with Aurora HDR. The opening HDR image is in ‘realistic’ mode, and more importantly, the final image looks clean. Remember, HDR processing works best with the most pixel data you can provide, so use RAW images for best results. While I still use Lightroom for many of the HDR images, I find myself going to Aurora HDR often to explore different effects. For $99, this saves me a lot of time figuring out how to get there in Lightroom.