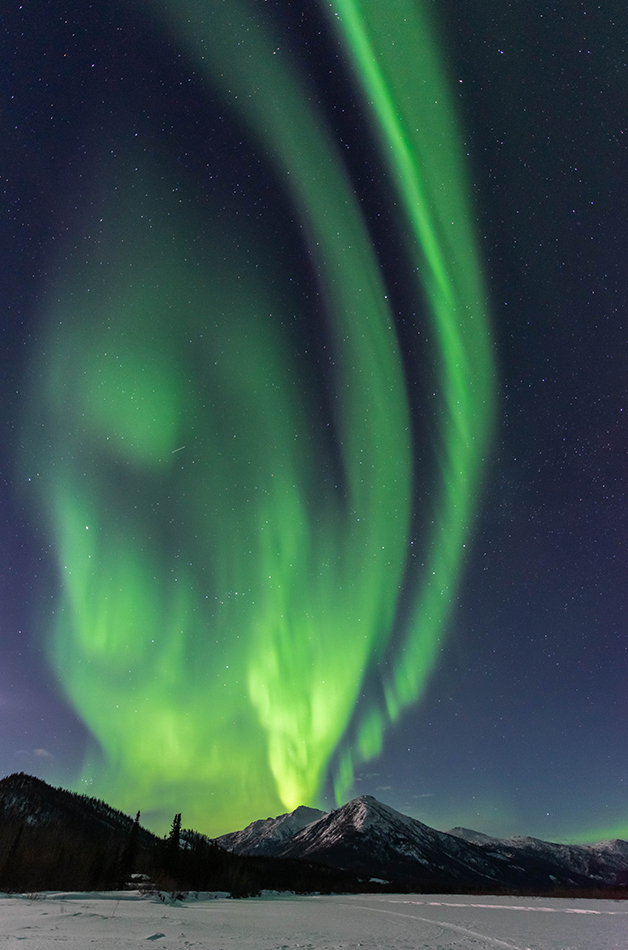
Wiseman, Alaska. northern lights
Colorado is buried in snow right now, we are having a banner year so far. And in Alaska, the northern lights are creating amazing displays. I was working on some northern lights images the other day, and realized how great the eye dropper tool is for white balance. This tool often gets over looked, but it is my go to solution for setting white balance on snow scenes and many other types of images.

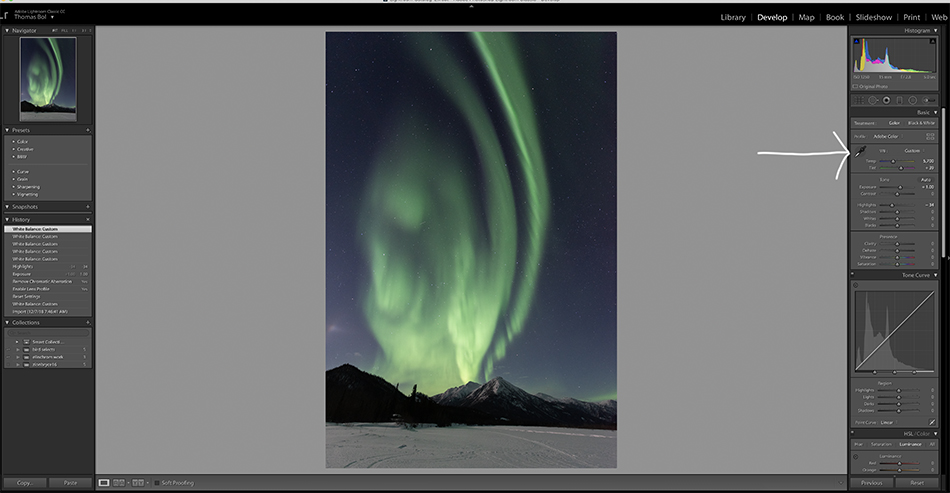
The eye dropper tool is located in LR in the Develop module in the basic panel upper left; see the white arrow in the image above. The way this tool works is by selecting it, and then moving the tool over a neutral area in the image and clicking to set the white balance. But here is the cool part; as you move the tool over areas in the image, the navigator preview (upper left) will show you what the white balance will be. When you see a color that looks right, just click the in that spot. If you don’t like the result, then just keep clicking the eye dropper tool on different areas until you get a good white balance.

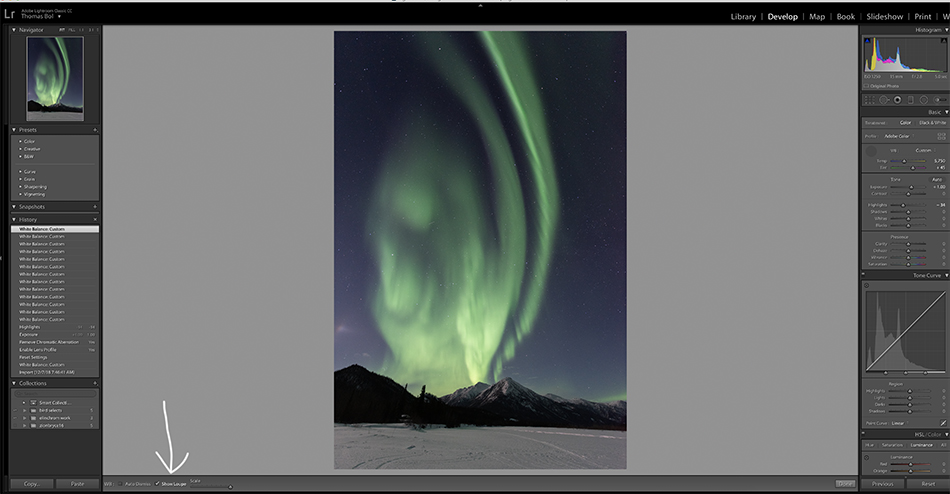
You can get a little more scientific using this tool. In the lower left (see white arrow in image above) is a box that if checked shows the loupe grid as you move the eye dropper tool across your image. This grid might be annoying, but it shows the RGB channel values as you move the dropper across the image. To set your white balance using a truly neutral value, watch the RGB values as you sample different areas in the image. When all three values are the same (or very close), then you have found a neutral area and a good choice to sample for correct white balance.
Aurora photos can be very tricky with white balance. Since the display might be a variety of colors, especially green, the entire snowy scene takes on a green cast. Just sample a neutral area in the scene using the eye dropper tool to set the correct white balance and eliminate the color cast.