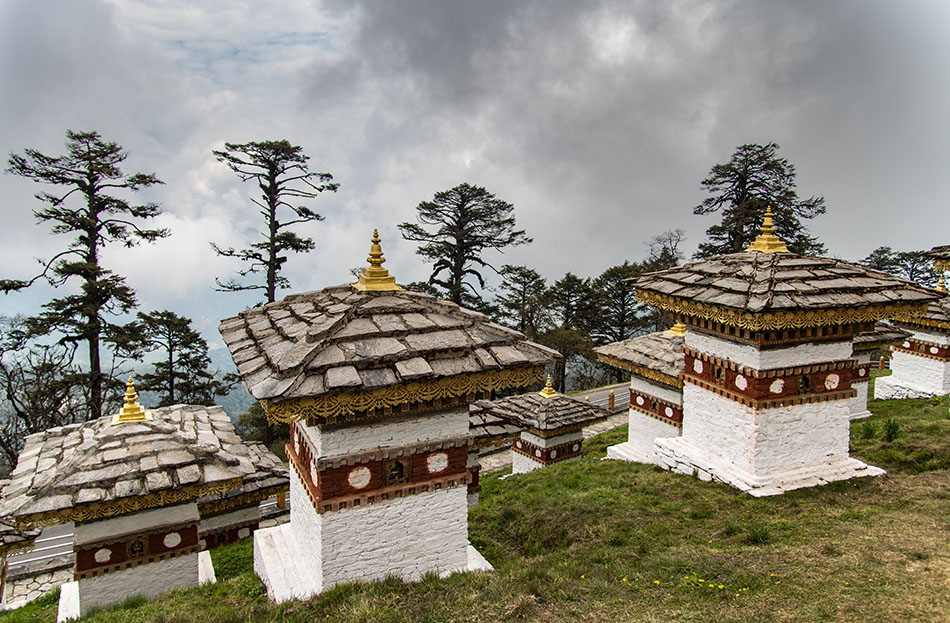
Bhutan.
With all the updates with LR, it is easy to overlook some of the helpful new features. I regularly use the graduated filter tool in Lightroom to darken my skies if I didn’t use a graduated ND filter in the field. But rarely is the transition from sky to ground an even one, especially if there are trees. But that is where the range mask tool saves the day.
Take a look at the image at the top. This was taken on a high pass in Bhutan. The sky and clouds had a lot to texture, all I needed to do was darken this area. I dragged the graduated filter tool down from the top and set the exposure to minus one. Now the sky had the right look. But the trees protruding up into the sky also were darkened, not what I wanted to do.

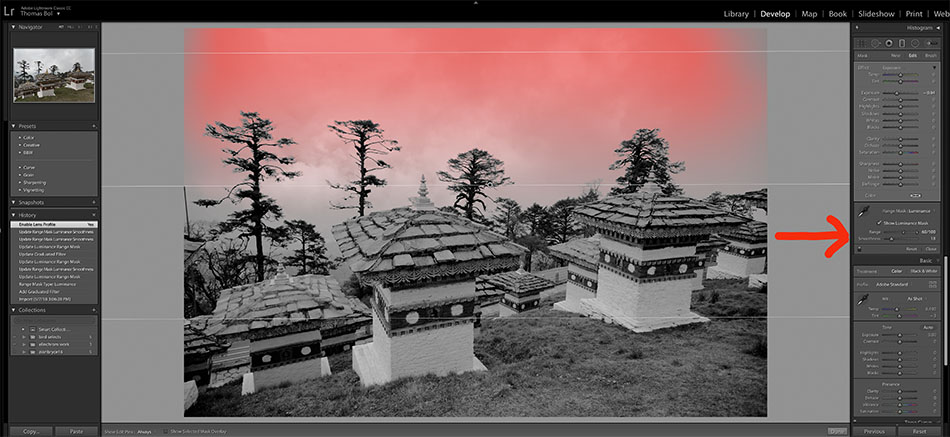
With the graduated filter tool selected you will see a range mask selection at the bottom of the panel. Choose luminosity from the drop menu. Next you will see a range and smoothness choice. By dragging the left range slider to the right you will reduce the darkening effect on dark object, in this case the trees. The smoothness slider will smooth out the transition of the affected pixels. Click on the mask box to see the actual effect, as show in the image above.
The range mask tool also allows you to choose color and do similar selections, but using color instead of luminosity. The beauty of the range mask tool is the ability to selectively change exposure while not affecting certain parts of the image…amazing control of the graduated filter tool. Try it out, it is simple use with very powerful results.